Learn with us!
Before you get started in your home-brewing journey - please remember one thing.
TASTE. IS. KING.
At the end of the day, regardless of what method you use, there isn't a 'correct' way. If it tastes good and you're happy, then that's correct!
Now, lets break it down!
Super basic FAQ for Filter & 'Spro!

My Coffee is Ashy and/or Chalky
Use Filtered Water below 150ppm! Volvic is our shop-bought choice!
My Coffee is Weak and/or Sour
Grind Finer
My Coffee is Bitter and/or Harsh
Grind Coarser
My Espresso comes out too fast / slow
Grind Finer if your coffee is coming out too fast.
Grind Coarser if your coffee is coming out too slow.
Taste it first! If it tastes good but is running too fast / slow - then is it really 'too fast' or 'too slow'?
Sorry, we're getting too philosophical here.
Let's start with 'Spro
Brewing espresso at home can be genuinely quite challenging - especially if you're going in blind. Prepare yourself for an info dump.
A great way to start is to actually decide wether spro is right for you at home, sounds silly right? Going to a full on 'spro setup at home can be expensive and daunting but once you've got the basics - it's super simple to get great results.
Some basic equipment we'd highly recommend:
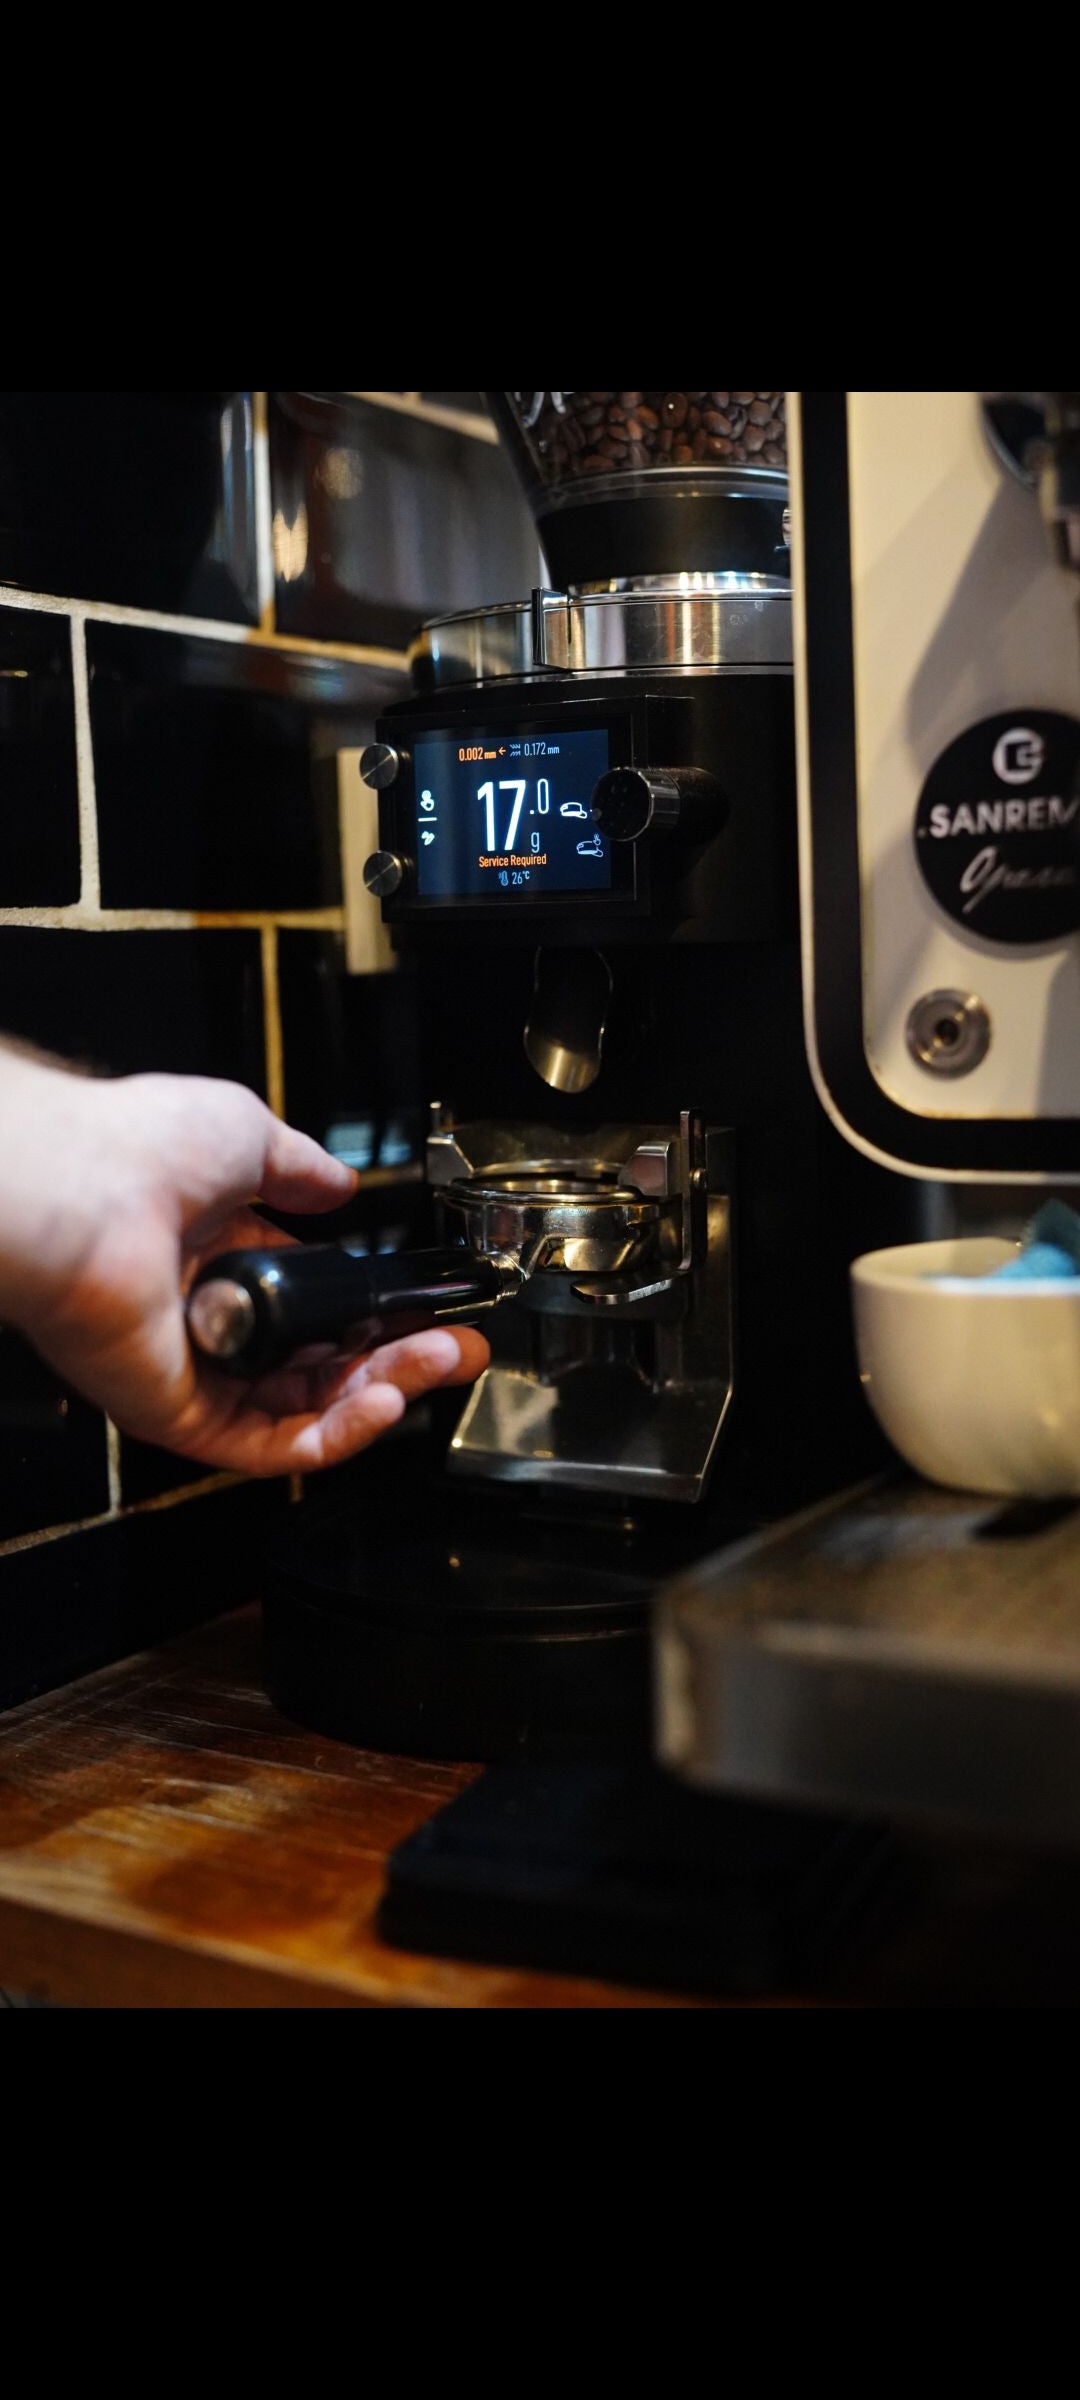
- Digital Scales - to ensure you're weighing the same amount of water in and espresso out into the cup - it keeps it consistent, which is super important!
- A decent espresso grinder - A topic which people tend to throw the most expensive thing possible at you. Grinders are expensive - especially electric ones, but a good one will last a while so are very worth it. They're more important than the machine you're using. We'd highly recommend one of the Eureka grinders - the Specialita is a fantastic home grinder and can often be found on sale!
Now. Let's actually talk about brewing.
The most common home machine will be the Breville / Sage Bambino or the Delonghi Dedica, both of these are great machines and can produce fantastic espresso if you've got the basics.
These machines will often come with pressurised baskets - which are designed for shop-bought / coarser pre-ground coffee. A more classic super fine grind is not recommended for these baskets.
Otherwise, you will have opted for a regular basket. The most common will be an IMS or VST basket. These are industry standard and are the most consistent for home.
Depending on the size of your portafilter, anywhere from 15g to 19g of coffee will fit - this is why your scales will be important
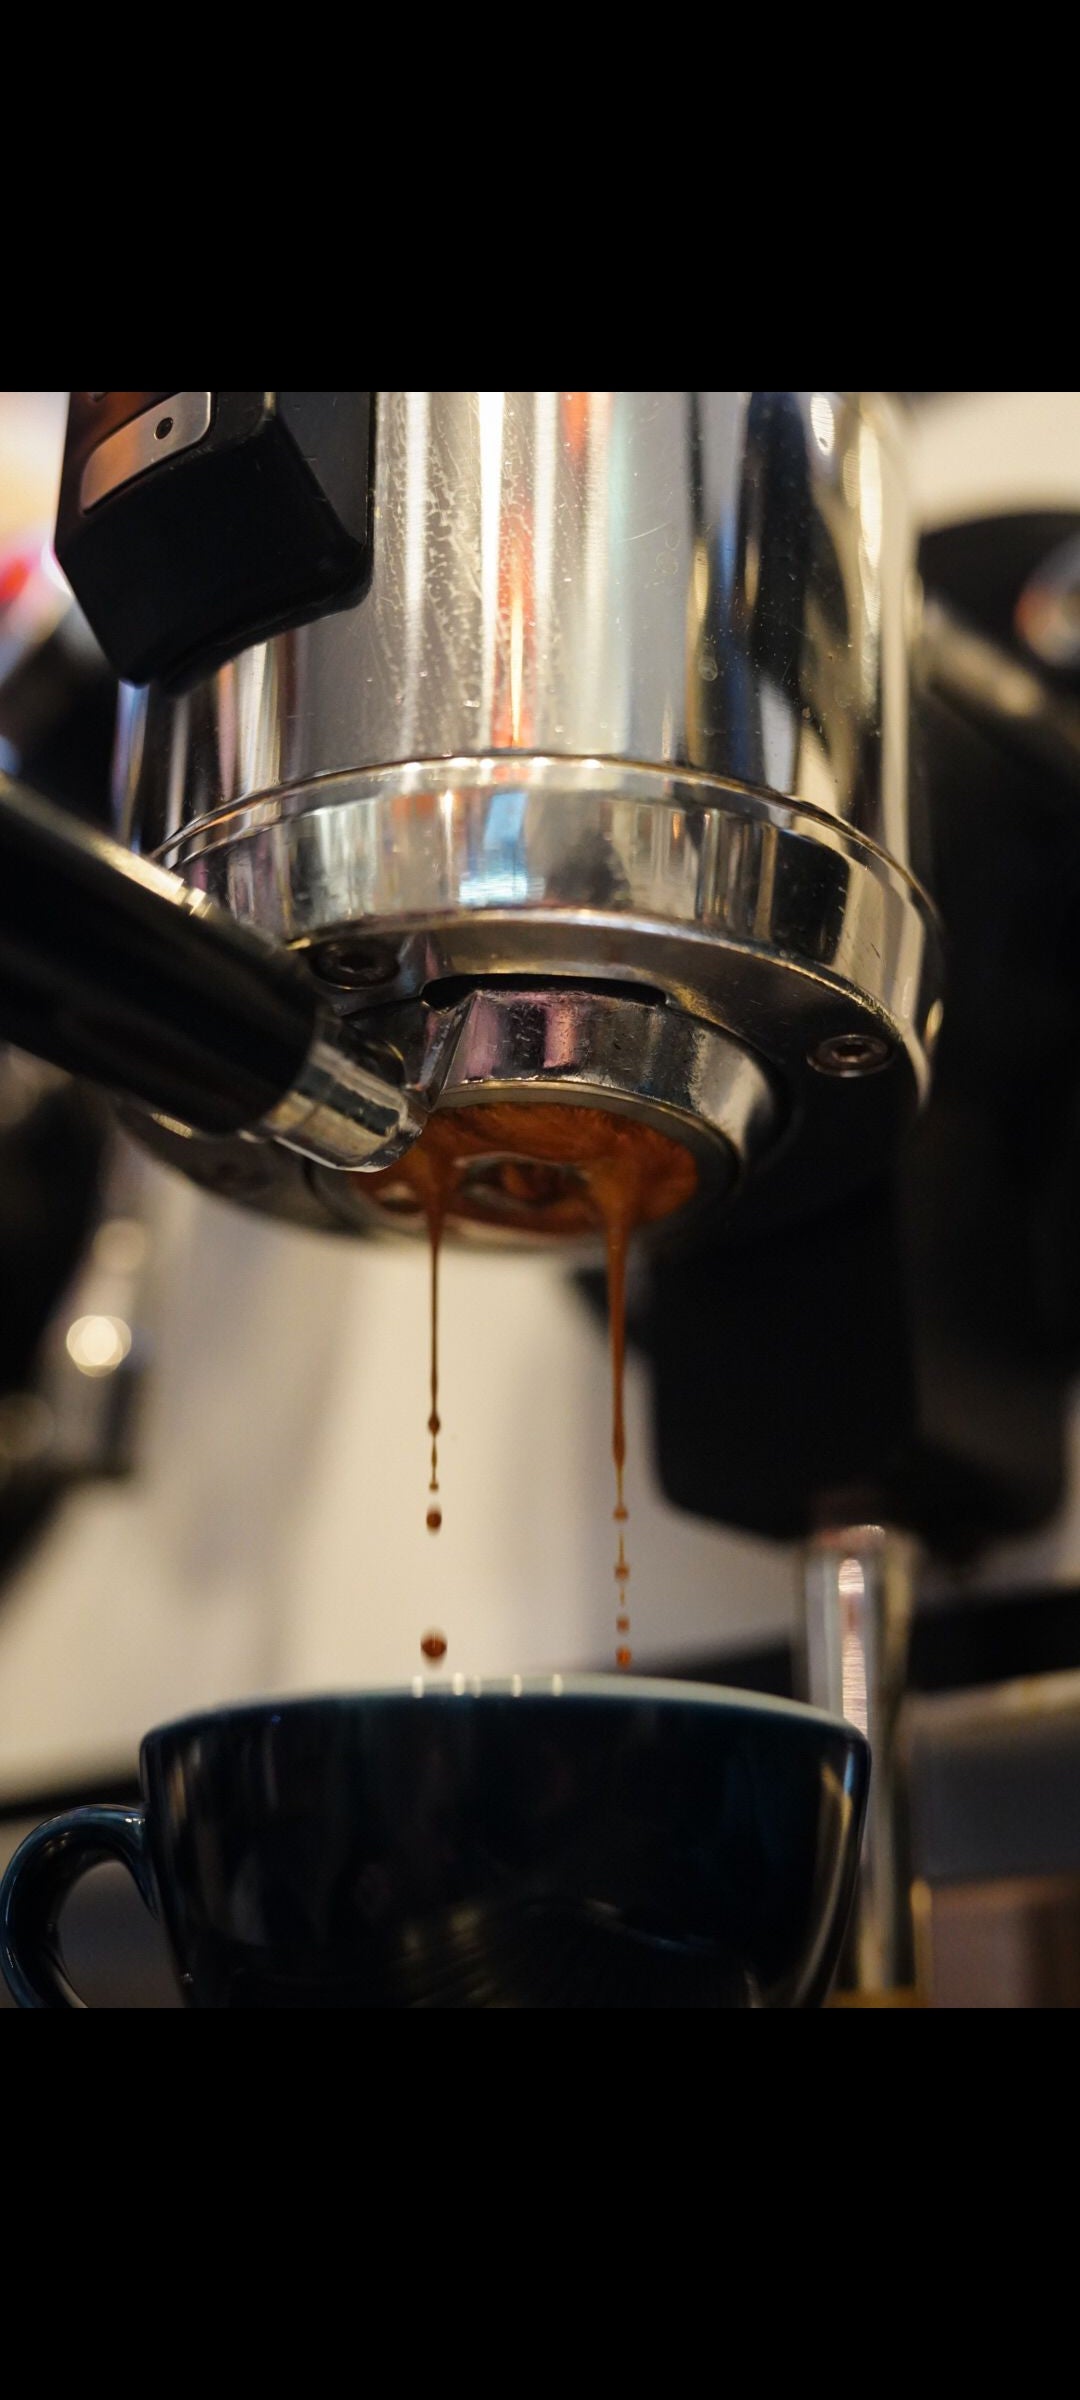
A basic starting point for recipes will be a 1:2 ratio of coffee:water. For example; 15g Coffee : 30g Water / 18g Coffee : 36g Coffee.
This is a super basic starting point - however, adjust to taste and don't be afraid to pull the shot longer and pull more water through the coffee. E.g. 17g Coffee : 40g Water!
Experiment!!
Timing can be important but can depend massively on the process and roast style of the coffee - This will be in another page discussing the differences between different processing and roast styles!
The video linked below is a fantastic beginner guide!
Now, Filter!
Filter is a lot more forgiving than espresso. But this doesn't mean it's easy. Far from it. Especially when you get into the nitty gritty of it all.
The first step is deciding on what brewer you want to use & what sort of coffees you actually want to brew. Unlike spro - most drippers are relatively cheap so you can mess around with a lot of them.
Again, the basics are as standard:
- Digital Scales - with a timer.
- A Decent grinder.
Super easy right?
Once again, grinders are a big topic, as they should be, so what should you go for? For filter, we would initially recommend a good hand grinder, rather than opting for an electric one.
Some popular options that we use in the shop are:
- 1zpresso Zp6
- 1zpresso K-Max
- Timemore C2
(We will eventually do a gear buying guide for you to all nerd out on)
NOW - BREWING BAYYYBEEEE
The most common, and probably what you're holding in your hand right now, is a Hario v60. They are versatile and easy to use - also mega cheap.
to begin with, our starting ratio will be 15g coffee : 250g water (1:15.5)
This amoutn of coffee in an 01 size v60 gives a good enough coffee bed depth to allow for good saturation of the coffee.
A common recipe and easiest is to 'pulse-pour'. Essentially a constant stop start of water into the coffee bed. To begin with, start with a 50g bloom and wait for 30s. Then pour another 50g and wait another 30s. Do this until you have reached 250g total in the dripper. It's literally that simple. Experiment with amounts of water per pour and also how long you leave each pour.
What the F is a bloom?
The bloom is the first initial pour into the coffee bed. This is pretty much your starting point of evenly saturating the coffee, making sure all the grounds have toucxhed water - this helps with an even overall extraction. It's also there o help with degassing the coffee and expelling any unwanted c02 from the grounds. (c02 is built up during the roasting process)
There's nothing wrong with not blooming, however it is usually pretty vital in a pulse pour method. if you are opting for a full-immersion method then the bloom is entirely necessary - as the coffee is fully saturated regardless.
Below is a fantastic video by Hario themselves - specifically Tetsu Kasuya - which covers a different type of recipe but talks about the importance of blooming and timing!
